
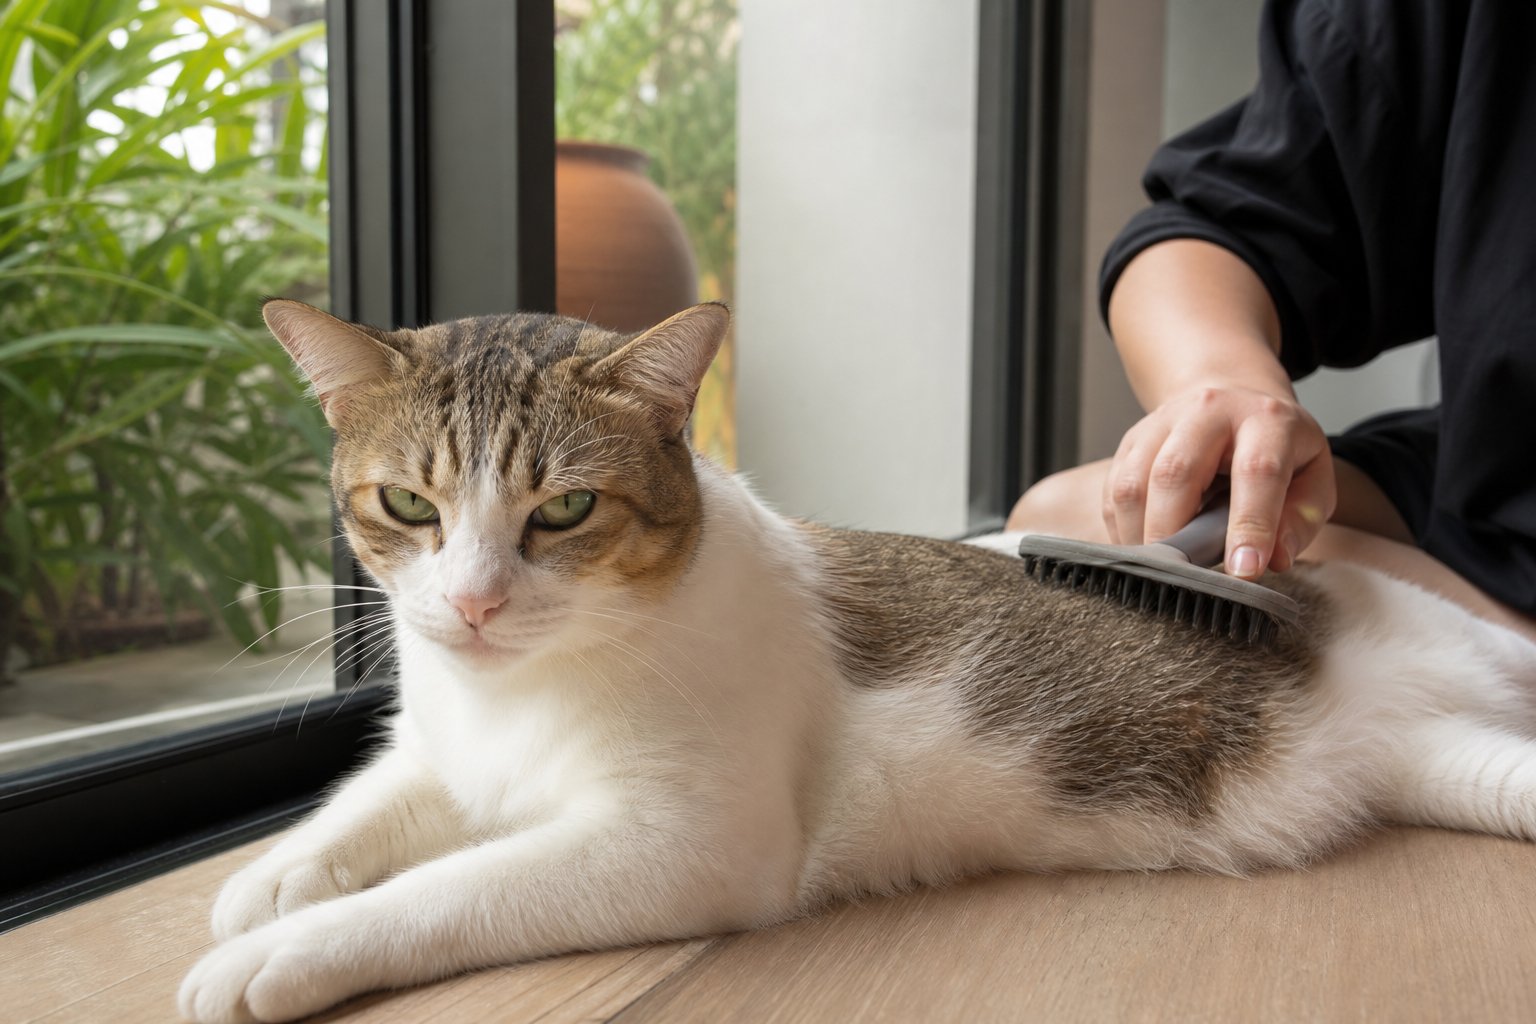
The short answer
Long-haired cats in Malaysia need three brushes, used in a set order: a metal comb to work out tangles first, a pin brush to lift the dense undercoat, and a de-shedding tool no more than twice a week. Comb from the tips inward for 5 to 10 minutes a day. Never drag a mat through with a pin brush, and never cut one open yourself.
Buying an expensive "signature" brush will not fix a wrong routine. The problem with brushing long-haired cats is almost never the brand in your hand; it is the sequence. If a mat is still tight when the pin brush or de-shedding tool hits it, the pins pull, the hair snaps, the skin reddens, and the cat learns that the brush means pain. From then on every grooming session becomes a chase.
Why a long-haired cat needs brushing every day
Most long-haired breeds carry a double coat: longer guard hairs on the surface that shed water and buffer sunlight, and a fine, soft underlayer that traps heat. The trouble sits in that underlayer. It renews constantly, so old hairs loosen daily, but instead of falling free they are held in place by the guard hairs above. They tangle with each other, catch on the outer coat, and slowly tighten into a knot.
A knot the size of a bean can still be combed apart in a few days. A knot that tightens until it lies flat against the skin becomes a felted sheet, and that sheet pulls on the skin with every turn, jump or stretch. Skip brushing for weeks and four problems stack up:
- Poor air flow over the skin. A felted patch blocks ventilation. In humid weather, skin that stays damp and covered is far more likely to go flaky, red or infected.
- Friction wounds. The mat tugs at the hair roots whenever the cat scratches or rolls over; broken skin then invites bacteria.
- More swallowed hair. Long-haired cats can swallow two to three times the loose hair a short-haired cat does, because more of it is lying free on the coat. Brushing removes that hair at the source, before the tongue does.
- The itch-scratch-mat cycle. Itchy skin sends the cat to chew and lick; saliva and friction make the coat knottier; knottier coat makes the skin itch again.
Brushing is also your daily skin inspection. Running your palm from head to tail once a session will usually surface a lump, a flaky patch, flea droppings or a bald spot long before the cat shows any discomfort.
The three brush types, side by side
The three tools are not competing; they perform different jobs in one process. Read the table before deciding what to buy.
| Brush | Main job | Typical spec | How often | Watch out for |
|---|---|---|---|---|
| Metal comb | Releases knots, sections the coat, aligns the outer hair | Teeth spaced 2–3 mm, 2–3 cm deep | Daily, always first | Too-wide spacing misses fine knots; too-narrow grips and pulls. Always work tip to root |
| Pin brush | Clears the undercoat, adds body to the coat | Pins 1.5–2 cm long with rounded tips | Daily, after the comb | Bent pins or lost rubber tips scratch skin. Never used to force a knot |
| De-shedding tool | Collects loose hair, cuts down moult | Blade or dense metal teeth, some with a retract button | 1–2 times weekly | Strong pull; three to five strokes per area. Skip on kittens and on sore skin |
| Rubber grooming glove | Soothing, lifts surface hair, suits sensitive skin | Soft silicone or rubber nubs | Daily if you like | Cannot reach the deep undercoat, so it never replaces the comb |
The comb is the foundation. Spacing of 2 to 3 mm is the most useful middle ground: wider gaps glide over small knots, narrower ones clamp the hair and tug the root. The technique matters more than the tool. Start at the tip, move in 1 to 2 cm at a time, and only advance toward the skin once that stretch is smooth. The moment you feel resistance, stop and back off.
The pin brush clears undercoat; it does not untie knots. Run a finger along the pins before you buy: they should feel smooth, never scratchy, and rounded tips help. Stiffer pins and very tight spacing tend to abrade the skin. Lay the brush flat against the coat, follow the direction of hair growth, and lift gently with a small twist of the wrist to bring loose undercoat to the surface. Clear the hair off the brush every few strokes.
The de-shedding tool is a seasonal tool, not a daily one. Its blade or dense teeth strip loose hair efficiently, but they also shave off some living coat. Used daily, it thins patches and dulls the colour. Three to five passes per area is enough, and you should feel the coat afterwards to confirm nothing has gone patchy. Keep it away from kittens, from any red or broken skin, and from existing mats.
Matching the brush to the coat, the body area and the cat's temperament
The same brush can work beautifully on one cat and fail on another, because undercoat density and hair texture differ. The table below is a starting point; adjust for what your own cat tolerates.
| Situation | Suggested set | Why |
|---|---|---|
| Fine, very dense undercoat (Persian, Chinchilla types) | Comb plus pin brush daily; de-shedding tool weekly | The undercoat felts fastest, so daily sectioning is the priority; the blade tool is only a finishing step |
| Heavy double coat, lots of volume (Maine Coon, Norwegian Forest types) | Comb plus pin brush daily; de-shedding tool twice weekly | Volume is high, so give extra attention to armpits, the base of the tail and the inner thighs |
| Long but slippery coat (Ragdoll, Siberian types) | Comb daily; pin brush every other day | Hair mats less readily; over-brushing can build static and frizz |
| Kitten under six months | Soft pin brush or rubber glove | Undercoat is not dense yet; the goal is a grooming habit, and no bladed tools |
| Senior cat or one with joint pain | Comb plus a lightweight pin brush, in short sessions | The cat will not stand or lie still for long; work in 2 to 3 minute bursts |
| Existing mats or a skin rash | Comb only, working section by section; pause the de-shedding tool | Rash areas follow your vet's instructions; never comb hard through them |
Work by body area. The back and flanks are the easy part: section them and comb with the hair. The armpits, behind the ears, the ruff around the neck and the inner thighs are where mats start, so hold the skin taut with one hand and work small sections with the wider-spaced end of the comb. At the tail, grip the tail bone steady and comb from the tip toward the base rather than yanking outward. The belly has the thinnest undercoat; a couple of light passes with the pin brush is plenty.
Work around the cat's temperament. If your cat bolts at the sight of a brush, begin where most cats are most accepting — under the chin, on the forehead and around the ears — for 2 to 3 minutes, then give a treat, and stretch the session gradually toward 5 to 10 minutes. Avoid an immediate rough-and-tumble right after brushing so the brush never becomes a play-bite target. In a multi-cat household, keep one brush set per cat: fungal infections and mites can travel along the teeth from one animal to the next.
The five-step daily routine
The whole sequence takes 5 to 10 minutes. In a Kuala Lumpur apartment, set up on a mat or a towel you can shake out afterwards, since loose hair left lying around ends up swallowed during play.
- Check first. Sweep both palms from head to tail to feel for hard knots, flakiness or tender spots. Note where they are so you can be gentle there.
- Comb to release knots. Starting at the back, lift the coat into layers and comb from the tip toward the root, 1 to 2 cm at a time. On resistance, put the comb down and separate the knot with your fingers instead of pulling.
- Pin brush the undercoat. Follow the hair direction, lay the brush close to the skin and lift gently, concentrating on armpits, behind the ears, the tail base and inner thighs. Empty the brush every few strokes.
- De-shedding tool if needed. Only in moulting season or when loose hair is visibly heavy: three to five strokes per area, then feel the coat for thinning or scratch marks.
- Clean up and store. Pull hair off the brush immediately, lift shed hair from the mat with a lint roller so it cannot be eaten later, and put the tools somewhere dry — not on a damp bathroom shelf.
Three mistakes account for most problems:
- Wrong order. Attacking a knot with the pin brush or the de-shedding tool first breaks hair, reddens the skin and teaches the cat to resist.
- One tool only. A comb alone never clears the deep undercoat, so hair piles up through moulting; a pin brush alone cannot untie knots, so they grow.
- Too much, too hard. Repeated scraping of one spot shows up quickly as thinning and red marks. Brush often, but lightly.
Mats you cannot get out
Resist two temptations: hauling on the knot, and reaching for scissors. A mat tight against the skin is closer to the skin than it looks, and scissor slips cause the wounds you were trying to avoid.
Instead, work it apart in stages. Split the mat with your fingers from the underside, then comb from the tip in tiny increments, adding a pet detangling spray to cut friction. Bean-sized knots usually give way within a few days of this treatment. Hand the job over if the mat is larger than a coin, lies flat and tight against the skin, or makes the cat flinch or cry when touched — a groomer or a vet has the tools and the restraint to do it safely.
When to see a vet
Brushing is when most skin conditions are first noticed, so treat these as signals, not as grooming tasks:
| What you find while brushing | What it may mean | What to do |
|---|---|---|
| A hard, coin-sized or larger knot tight to the skin | Felted mat pulling on the skin | Do not cut it out; refer to a groomer or vet |
| Powdery flakes, round bald patches, redness | Fungal infection, mites or skin infection | Book a vet visit; confirm the cause before applying anything |
| Oozing, scabs, heat, or the cat shrinking away from touch | Infection or an open wound | See a vet the same day |
| Black grains at the hair roots that turn reddish-brown in water | Flea droppings | Follow your vet's flea plan and clean the bedding at the same time |
| Panting after a session, refusing two meals, or hiding | Stress or illness | Seek care the same day rather than waiting for the next brush |
Stop and arrange a veterinary visit the same day if any of these appear: wide redness, discharge or a bad odour; a hard mat or lump that makes the cat cry out; no food or water for 24 hours; or panting, dullness and an obviously raised temperature. Those sit outside routine coat care.
Keeping the brushes themselves clean
A dirty brush moves dander, grease and fungal spores from one patch of skin to another every time you use it.
- Clear hair after every session. Use your fingers or a second comb; do not let it build into a felted layer on the teeth.
- Deep-clean fortnightly. Soak pin brushes and rubber gloves in warm water with a little mild detergent, rinse, and dry thoroughly before storing. Wipe metal combs dry so they do not rust.
- Inspect the tips. Replace any brush with bent pins, missing rubber tips or rust — a scratch becomes a secondary infection fast.
- One set per cat. Especially important in multi-cat homes, to avoid passing fungal or mite problems along the teeth.
- Store dry. Bathrooms and kitchen counters are the worst spots; moisture in the air is enough to seed mould on a brush left out.
What else supports the coat
Grooming works alongside diet and parasite control. Protein is the raw material of hair, and foods labelled for skin and coat are formulated with fatty acid balances in mind; ask a Malaysian vet or pet retailer which options suit your cat's age and health rather than choosing on the front of the pack. International flea and tick spot-on products are widely available, but dosage and frequency depend on the cat's weight and age, so follow the label and your vet's advice. Prices and stock vary between stores — check locally before you buy.
Related reading
- Pet Skin Health Guide Malaysia: Itchy, Balding, Rash or Fungus?
- Cat Wound Healing vs Infection in Malaysia: How to Tell the Difference
- Cat Wound Healing vs Infection in Malaysia: A Day-by-Day Sign Checklist
- Apple Cider Vinegar for Your Pet's Skin: What Works, How to Dilute, and When to Stop
- Black Dog Coat Turning Brown in Malaysia: Causes and a Five-Step Fix
- Cat Keeps Licking Wound? Malaysia Owner's Guide to Anti-Lick Solutions
- Cat Keeps Licking a Wound: Anti-Lick Solutions and Wound Care for Cat Owners in Malaysia
- Cat Wound Bandaging in Malaysia: When to Wrap, When to Rush to the Vet
- Cat Wound Bandaging in Malaysia: When to Wrap, How to Do It, and When to Stop
- Iodine Tincture vs Povidone-Iodine for Pet Skin: What Malaysian Owners Need to Know