
The short answer
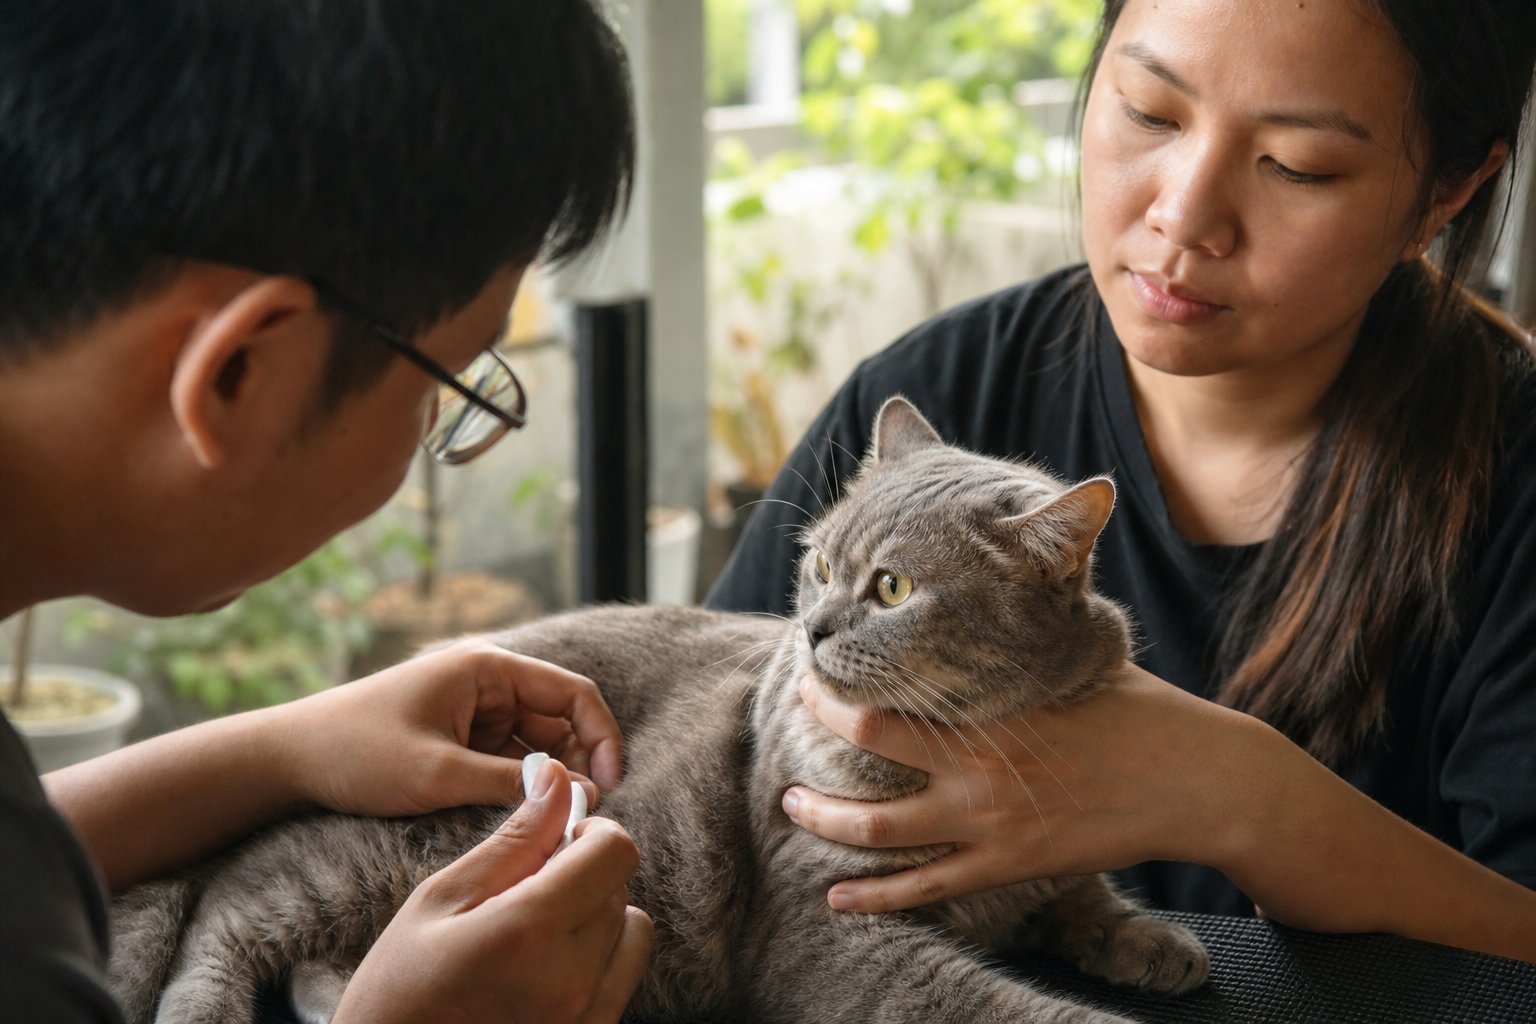
Ear mites are treatable at home, but home treatment works only when four things happen together: the diagnosis is confirmed, the ears are cleaned gently so medication can reach the skin, the product is used for the full course rather than until the itching stops, and every cat and dog in the household is treated at the same time. Skip any one of those steps and the mites usually come back within weeks.
This guide walks through the whole process for Malaysian households, from spotting the signs in a Kuala Lumpur apartment to managing a multi-cat home during the rainy season, plus the red flags that mean you should stop and see a vet.
What ear mites actually are
Ear mites are tiny parasites that live on the surface of the ear canal. The most common species in cats is Otodectes cynotis. They feed on skin debris and ear wax, and their crawling and feeding causes intense itchiness. The mites are barely visible to the naked eye, though heavy infestations can look like small moving specks of white dust.
They are contagious between pets through close contact and shared bedding. Kittens often pick them up from their mother, and outdoor cats can bring them home. Mites do not survive long off the animal, but they spread easily in multi-pet homes, shelters and crowded catteries.
A key point: ear mites are not the only cause of itchy ears. Bacterial infections, yeast overgrowth, allergies, ear foreign bodies and skin disease can all produce similar signs. That is why a vet check matters even when you plan to treat at home.
Signs your cat may have ear mites
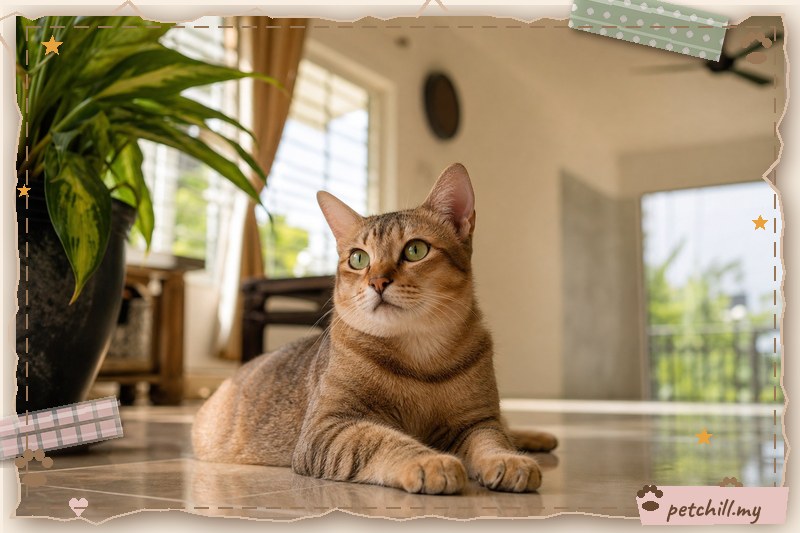
Watch for a cluster of signs rather than a single one:
- Intense scratching of the ears, head and neck, sometimes to the point of raw skin.
- Head shaking and repeated ear flicking.
- Dark, crumbly discharge that looks like coffee grounds or brown wax.
- Redness and swelling inside the ear flap.
- A sour or musty smell from the ear.
- Crusty spots or scabs around the ear base and neck from scratching.
- Restlessness or irritability, especially at night.
- Head tilt in more severe or long-standing cases.
Some cats show very few signs, which is one reason mites spread quietly through a household. If one cat is diagnosed, check the others.
Mites versus other ear problems
| Feature | Ear mites | Bacterial or yeast infection | Allergic ear disease |
|---|---|---|---|
| Discharge | Dark, crumbly, coffee-ground look | Yellow, brown or waxy, sometimes pus-like | Variable, often waxy |
| Itch level | Usually severe | Moderate to severe | Moderate, often seasonal |
| Both ears affected | Very common | Common | Very common |
| Smell | Mild musty odour | Often stronger, yeasty or foul | Variable |
| Response to mite treatment | Improves within 1–2 weeks | No improvement | No improvement |
| Contagious to other pets | Yes | Usually no | No |
This table is a guide only. Only a vet can confirm what is going on, often by looking at a sample of ear wax under a microscope.
Step 1: Get the diagnosis confirmed
Before you buy anything, have a vet look in both ears. A short consultation with an otoscope examination is quick, and many clinics will check an ear swab on the spot. This matters for three reasons:
- Some ear drops are dangerous if the eardrum is ruptured. A vet can check the eardrum before you put anything in the canal.
- Wrong treatment wastes money and time. Treating a yeast infection with a mite product will not work, and the itch continues.
- Underlying disease may be present. Cats with allergies or narrow ear canals may need a different plan.
Ask your vet to write down the product name, the dose, how often to apply it, and how long to continue. Take a photo of the label so you have it at home.
Step 2: Set up a calm treatment station
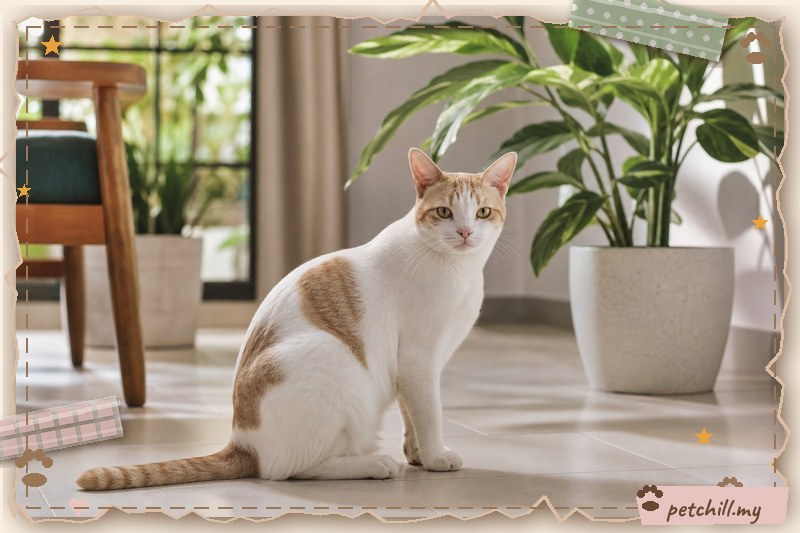
Ear treatment goes badly when it is improvised. Prepare before you touch the cat:
- A pet-safe ear cleaner recommended by your vet.
- The prescribed ear mite medication.
- Cotton pads or gauze squares. Never use cotton buds deep in the canal.
- A towel for wrapping a wriggly cat.
- Treats for rewards afterwards.
- A second person if your cat is strong or nervous.
Pick a quiet room with a non-slip surface. Avoid treating right after a meal, and do not chase a cat that is panicking. If your cat becomes distressed, stop, let it settle, and try again later. A towel wrap that leaves the head free is usually enough for most cats.
Step 3: Clean the ear correctly
Cleaning removes wax and debris so the medication can contact the skin. Do it gently:
- Hold the ear flap upright and look at the canal. Only clean what you can see.
- Fill the visible canal with pet-safe ear cleaner, following the label.
- Massage the base of the ear for about 20 to 30 seconds. You will hear a soft squelching sound.
- Let your cat shake its head. This brings debris up.
- Wipe away loosened wax with a cotton pad, working outward only.
- Repeat on the other ear with fresh pads.
Do not use the same pad on both ears, and do not push anything into the canal. If the ear looks very red, swollen or painful, skip cleaning and call your vet.

Step 4: Apply the medication as prescribed
Apply the prescribed product exactly as directed. A few practical tips:
- Warm the bottle in your hand for a minute so the drops are not cold.
- Hold the ear flap up and squeeze the prescribed number of drops into the canal.
- Massage the ear base again so the product spreads.
- Keep hold of the head briefly so your cat does not immediately shake everything out.
- Wipe excess product from the outer flap only.
- Reward with a treat and a calm word.
Finish the full course. This is the single most important rule. Mite eggs survive the first dose and hatch later, so stopping when the itching settles leaves a new generation behind. Many products are designed for repeat dosing over several weeks.
Step 5: Treat every pet in the house
Ear mites move easily between pets. If you treat one cat and leave the dog or the other cat untreated, reinfestation is almost certain. Treat all cats and dogs in the household at the same time, using products appropriate for each species. Never use a dog product on a cat without veterinary advice, as some ingredients are toxic to cats.
If you have rabbits or other small pets, ask your vet about them too, since mites can pass between species in some situations.
Step 6: Clean the environment
Mites do not live long away from a host, but a thorough clean reduces the chance of reinfection:
- Wash bedding, blankets and soft toys in hot water.
- Vacuum sleeping spots, cat trees and car seats.
- Wipe down hard surfaces where pets rest.
- Replace or wash fabric carriers after vet visits.
- Keep infested pets away from shared grooming tools until treatment is finished.
You do not need to fumigate the house. Focused cleaning of the places your pets sleep is enough.
Step 7: Recheck and confirm clearance
Book a recheck at the interval your vet recommends, often around two to three weeks. The vet will look for remaining discharge and may repeat a swab. Do not assume the job is done because the scratching stopped; some cats carry low numbers of mites without obvious signs.
If signs return after treatment, do not simply restart the same product. A vet needs to check whether the diagnosis was correct, whether the course was completed, or whether another ear problem has developed.
Home treatment checklist
Use this as a quick reference during treatment:
- Vet confirmed ear mites and checked the eardrums.
- Product name, dose and duration written down.
- Pet-safe ear cleaner bought.
- Cotton pads and towel ready.
- All cats and dogs in the house treated.
- Bedding washed in hot water.
- Treatment calendar marked with doses.
- Recheck appointment booked.
- Ear checked daily for redness, swelling or discharge.
- No cotton buds, oils, garlic or vinegar used.
What not to do
Some well-meant home remedies do more harm than good:
- Do not use cotton buds deep in the ear. They push debris further in and can injure the eardrum.
- Do not use cooking oil, garlic, vinegar or alcohol. These irritate the canal and do not reliably kill mites.
- Do not use human ear drops. They are not formulated for cats and may be harmful.
- Do not use dog products on cats unless your vet has specifically approved them.
- Do not stop treatment early because the cat seems better.
- Do not treat a painful, swollen or pus-filled ear at home. That needs a vet.
Living with ear mites in Malaysian homes
Malaysia's warm, humid climate does not cause ear mites, but it does make ears a friendly place for wax, yeast and bacteria. Damp ears after a bath or a swim in a condo pool can worsen irritation, so dry the outer ear gently with a towel afterwards.
In a Kuala Lumpur apartment with two cats sharing a single cat tree, mites can pass between them within days. Treat both cats at once and wash the cat tree covers. In a Johor terrace house where a cat and a dog sleep on the same porch cushion, treat both pets and replace or wash the cushion. During the Penang rainy season, when pets spend more time indoors on shared bedding, keep bedding dry and wash it more often.
Multi-cat households, foster homes and catteries should treat mites as a household problem rather than a single-cat problem. New cats or kittens should be checked by a vet before joining the group.
When to see a vet
Contact a vet promptly if you notice any of the following:
- Severe pain when the ear is touched, or crying and flinching.
- A swollen ear flap that feels hot or looks like a pocket of fluid.
- Pus, blood or a foul smell from the ear.
- Head tilt, loss of balance, circling or nystagmus (flickering eyes), which can indicate middle or inner ear involvement.
- No improvement after one to two weeks of correct treatment.
- Signs returning after a completed course.
- A kitten or elderly cat with mites, since they may need a gentler product and closer monitoring.
- Scratching that breaks the skin, risking secondary infection.
- Any doubt about the diagnosis, especially if only one ear is affected or the discharge looks unusual.
Ear disease in cats can progress to the middle ear if left untreated, and that is much harder to manage than mites on the surface.
Preventing reinfestation
Once treatment is finished, a few habits keep mites from returning:
- Check new pets and foster cats before introducing them.
- Keep bedding clean and dry, especially in humid weather.
- Inspect ears weekly as part of grooming.
- Avoid sharing grooming tools with pets outside the household.
- Treat any itchy pet promptly rather than waiting.
- Keep up routine vet checks, particularly for outdoor cats.
A realistic timeline
| Time | What to expect |
|---|---|
| Day 0 | Vet confirms mites, ears cleaned, first dose applied, all pets treated |
| Days 1–3 | Itching may reduce but discharge can persist; continue the course |
| Week 1 | Less head shaking, cleaner ears, scabs beginning to heal |
| Weeks 2–3 | Recheck appointment; most cases look much improved |
| Weeks 3–4 | Full course completed; ears clear on examination |
| After treatment | Weekly ear checks and clean bedding to prevent return |
Timelines vary with the product and the severity of infestation. Follow your vet's schedule rather than this table.
Frequently asked questions
See the FAQ section above for quick answers on diagnosis, cleaning frequency, treatment length, human and dog risk, home remedies and prevention.
Vet disclaimer
This article is general information for Malaysian cat owners and is not a substitute for veterinary examination, diagnosis or prescription. Ear mites can look like other ear diseases, and some ear medications are unsafe in certain cats. Always have your cat examined by a licensed veterinarian before starting treatment, follow the prescribed course exactly, and seek prompt veterinary care if your cat is in pain, has a swollen or discharging ear, or shows signs of balance problems.
Related reading
- Diarrhea in Cats: Causes and Care (Malaysian Owner's Guide)
- Cat Constipation Treatment in Malaysia: A Practical Owner's Guide
- Cat Diarrhea Treatment in Malaysia: A Practical Owner's Guide
- Cat Fleas Treatment in Malaysia: A Practical Owner's Guide
- Cat Worms Treatment in Malaysia: A Practical Owner's Guide
- Chocolate Poisoning and Cats in Malaysia: What Every Owner Should Know
- Deworming Schedule for Cats: A Step-by-Step Plan for Malaysian Owners