
The short answer
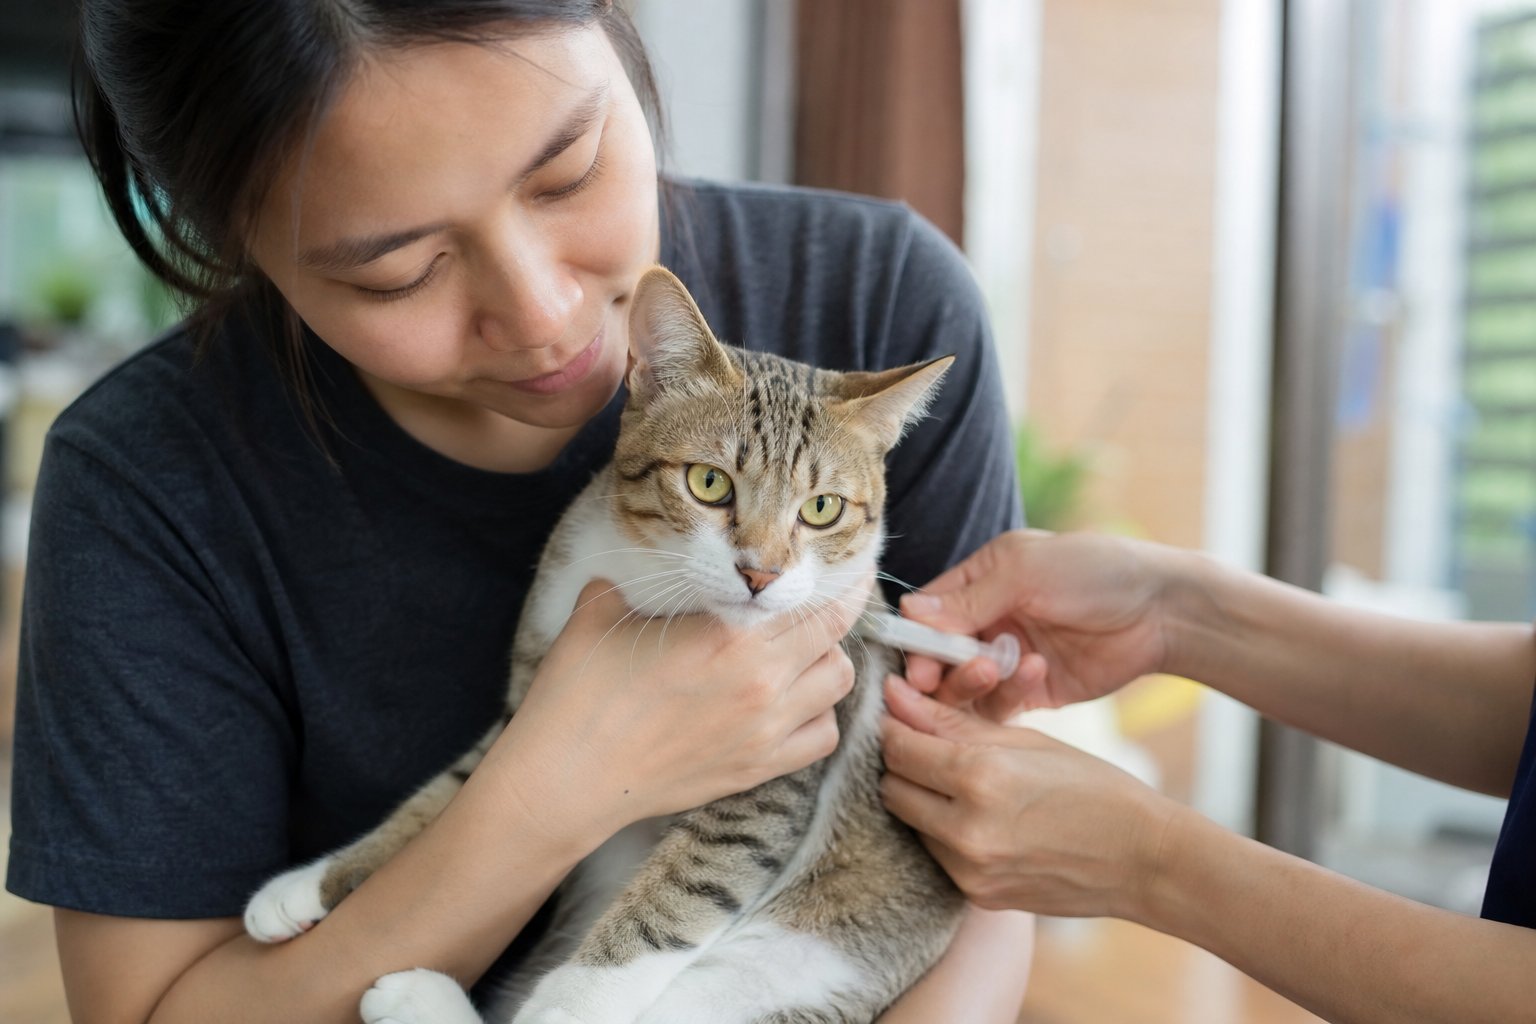
Ear mites are tiny parasites that live in the ear canal and feed on skin debris. They cause intense itching, dark coffee-ground discharge and head shaking. Prevention is not one product; it is a routine. Check ears weekly, keep them dry, wash bedding often, and if one pet is infected, treat every cat and dog in the house at the same time. Use only vet-approved cleaners and drops, and see a vet if the ear looks painful, smelly or does not improve.
What ear mites are and why they spread so easily
Ear mites, most often Otodectes cynotis, are barely visible to the naked eye. They live on the surface of the ear canal and can survive briefly off the host, which is why bedding, grooming tools and carriers can pass them along. The mite's life cycle takes about three weeks, and adults can lay eggs throughout that time. That is why a single dose of anything rarely solves the problem; treatment must cover the full cycle.
Mites are contagious. A new kitten, a stray your neighbour rehomed, or a dog that visits the same park can bring them home. In multi-pet households, mites move from one animal to another during grooming, sleeping together or sharing a carrier. This is the single most common reason prevention fails: one pet is treated, the others are not.
Symptoms to watch for:
- Constant scratching at the ears or face
- Head shaking and rubbing against furniture
- Dark brown or black discharge that looks like coffee grounds
- Red, inflamed skin inside the ear flap
- A sour or musty smell
- Crusts around the ear opening
- In severe cases, a head tilt or loss of balance
Not every itchy ear is mites. Bacterial and yeast infections, allergies, grass seeds and ear polyps can look similar. A vet uses an otoscope and sometimes a swab to confirm. This matters because mite treatment will not fix a bacterial infection, and using the wrong drops can make things worse.
A weekly ear-check routine that actually works
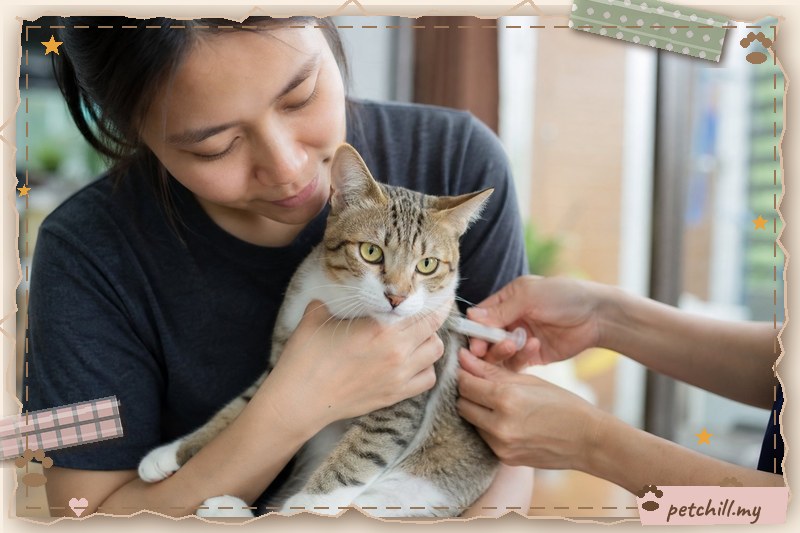
Prevention starts with knowing what normal looks like. A healthy cat's ear canal is pale pink, mostly dry, and has little odour. A small amount of light wax is fine. Anything dark, wet, smelly or painful is a flag.
Do the check at the same time each week, ideally when your cat is relaxed. Lift the ear flap gently and look at the visible canal. Do not push a cotton bud into the canal; that pushes debris deeper and can damage the eardrum. Wipe only the outer folds with a dry cotton pad or a pad dampened with a vet-approved ear cleaner.
A simple weekly checklist:
- Look inside both ears in good light.
- Smell the ear gently; a healthy ear should not smell sour.
- Wipe the outer fold only if you see dirt.
- Check for scratches or scabs around the ear base.
- Note any head shaking or scratching during the week.
- Check every pet in the house, not just the itchy one.
- Wash bedding and wipe carriers monthly.
If you find dark discharge, do not start leftover drops from a previous illness. Old drops may be expired or wrong for the current problem. Book a vet visit and keep the cat away from other pets until mites are confirmed or ruled out.
Keeping ears dry in Malaysia's climate
Malaysia's heat and humidity make ears a warm, damp place, which is exactly what yeast and bacteria like. Mites are not caused by dampness, but damp ears become irritated and infected more easily, and the symptoms can be confused with mites.
Practical drying habits:
- After a bath, dry the outer ear with a soft towel. Do not leave water in the ear canal.
- If your cat goes outside in the rain, dry the ears when it comes in.
- Avoid swimming or water play if your cat is prone to ear problems.
- Do not use human ear cleaners, alcohol or hydrogen peroxide; they irritate the skin.
- Keep the ear flap dry after cleaning before you let the cat groom itself.
In a Kuala Lumpur apartment, ears may stay damp longer because of poor airflow and air-conditioning condensation. In a Johor terrace house, cats that roam the garden may pick up grass seeds and dirt, so a quick check after outdoor time is useful. Penang's rainy season is a good reminder to dry ears after any wet walk or escape into the rain.
Bedding, carriers and grooming tools
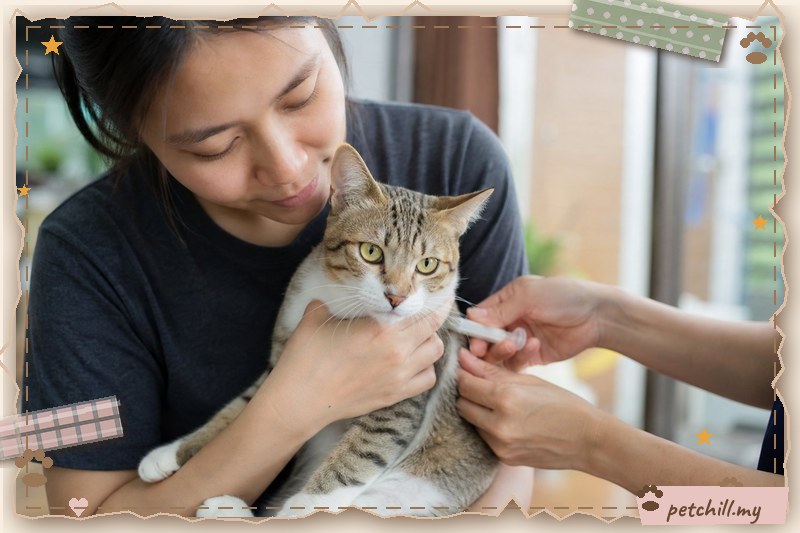
Mites can survive briefly off the cat, so the environment matters. Wash bedding weekly in hot water and dry it fully in the sun or a dryer. Wipe carriers and grooming tools with a pet-safe disinfectant, then rinse and dry. If one pet is infected, wash everything that touched it on the same day treatment starts.
Do not share brushes, towels or carriers between a treated pet and an untreated one. Keep infected pets separate until the vet confirms the mites are gone. This is especially important in multi-cat homes, where mites spread quickly through shared sleeping spots.
Treating every pet at the same time
If your vet confirms mites, the most effective prevention is to treat all cats and dogs in the household together, even those without symptoms. Mites can live on pets with mild signs that owners miss. Treating only the itchy cat usually leads to reinfection within weeks.
Follow the vet's instructions exactly. Some products are applied to the skin between the shoulder blades, others are ear drops, and some are given by injection or by mouth. Never use a dog product on a cat unless the vet confirms it is safe; some dog parasiticides are toxic to cats. Do not split doses between pets or use a product for longer than directed.
Mark the treatment dates on a calendar. Most mite treatments need to be repeated to cover the three-week life cycle. Clean the environment on the same schedule. If you miss a dose, call the vet for advice rather than doubling up.
What does not work, and what to avoid
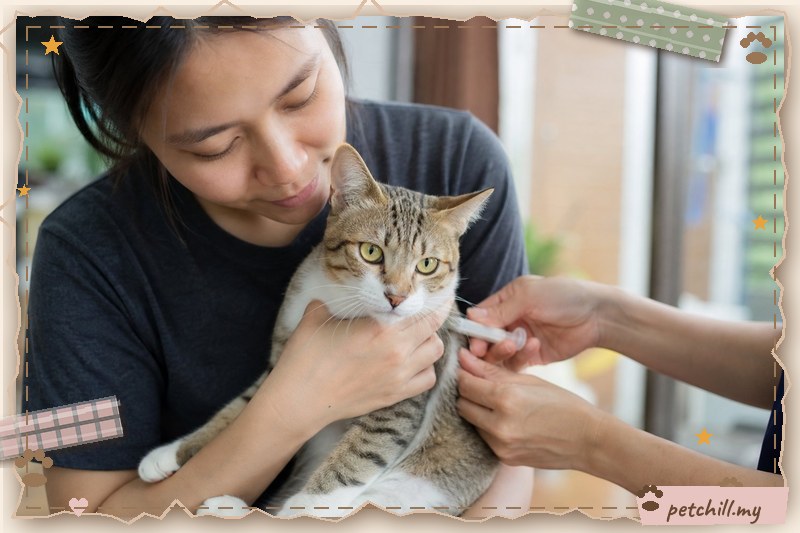
Some home remedies are popular but unreliable or unsafe:
- Coconut oil or olive oil: may soften crusts but does not reliably kill mites and can trap dirt.
- Tea tree oil: toxic to cats; never use it.
- Garlic or onion: toxic to cats.
- Human ear drops: wrong pH and may contain ingredients not safe for cats.
- Leftover prescription drops: may be expired or for a different infection.
- Cotton buds deep in the canal: can push debris in and damage the eardrum.
If you want to clean the outer ear between vet visits, use a cleaner your vet recommends and follow the label. When in doubt, ask before applying anything.
Comparison: prevention habits at a glance
| Habit | How often | Why it helps | Watch out for |
|---|---|---|---|
| Visual ear check | Weekly | Catches discharge or redness early | Do not push anything into the canal |
| Outer-ear wipe | Only when dirty | Removes wax and debris | Use a vet-approved cleaner |
| Drying after bath or rain | Every time | Reduces dampness and irritation | Pat dry, do not rub hard |
| Bedding wash | Weekly | Removes mites and eggs | Use hot water and dry fully |
| Carrier and tool wipe | Monthly and after illness | Stops spread between pets | Rinse off disinfectant |
| Treat all pets together | When mites confirmed | Prevents reinfection | Follow vet dosing exactly |
| New pet check | Before mixing pets | Stops mites entering the home | Ask for a vet check first |
When to see a vet
Book a vet visit if your cat:
- Scratches its ears constantly or makes them bleed
- Has a head tilt, wobbles or seems off balance
- Has dark, smelly discharge that returns after cleaning
- Cries when the ear is touched
- Has swelling or a drooping ear flap
- Does not improve after a course of treatment
- Lives with other pets that are also scratching
A vet can confirm mites, check for infection, and choose a safe product for your cat's age and health. Do not wait for the ear to become painful; early treatment is simpler and cheaper.
A simple monthly prevention plan
- Week 1: check ears, wash bedding, wipe carriers.
- Week 2: check ears, dry after any bath or rain.
- Week 3: check ears, inspect grooming tools.
- Week 4: check ears, review any scratching notes, and book a vet if needed.
Keep a small notebook or phone note with dates and observations. Patterns help the vet decide whether the problem is mites, allergy or infection.
Frequently asked questions
See the FAQ section above for quick answers on indoor cats, cleaning frequency, contagion, bathing, home oils and when to see a vet.
Vet disclaimer
This article is general information for Malaysian cat owners and is not a substitute for veterinary advice. Ear problems can look alike, and some treatments are unsafe for certain cats. Always consult a licensed veterinarian before starting or changing any ear treatment.
Related reading
- Deworming Schedule for Cats: What to Expect (Malaysia Guide)
- Ear Mites in Cats in Malaysia: Signs, Treatment and Prevention
- Blood Test for Cats Step by Step: What Happens at the Clinic
- Dental Pain in Cats in Malaysia: Signs, Causes and What to Do
- Dental Pain Prevention for Cats: A Practical Malaysian Guide
- Deworming Schedule for Cats: A Step-by-Step Plan for Malaysian Owners
- E-Collar Recovery for Cats Step by Step: A Practical Guide for Malaysian Owners
- E-Collar Recovery for Cats: What to Expect (Malaysia Guide)
- Eye Infection in Cats: Causes and Care (Malaysia Guide)